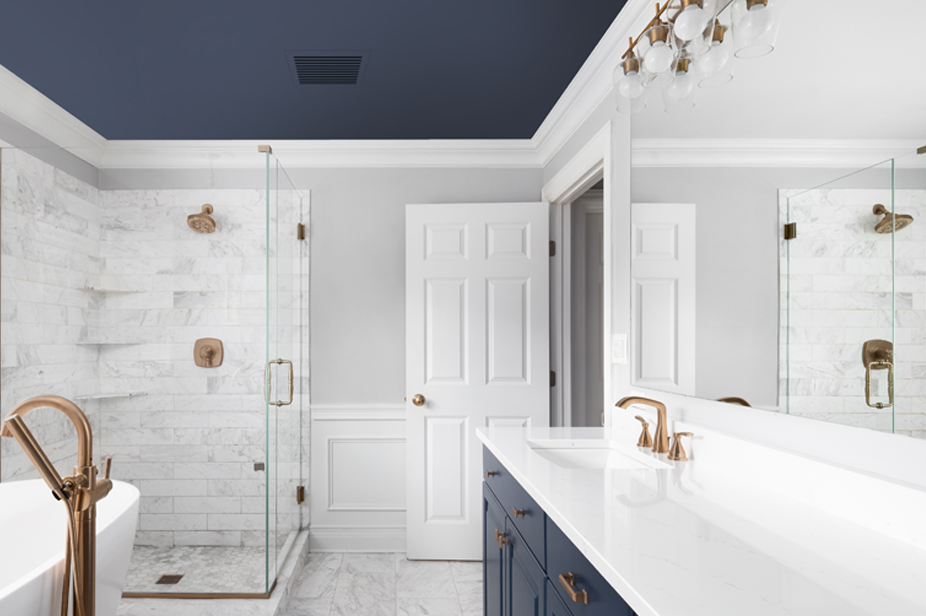
In the realm of home improvement, there are often small, overlooked and affordable upgrades that can make a significant difference in the comfort and design of your space. One such upgrade is replacing traditional exhaust fan covers with the innovative Envisivent Exhaust Fan Cover. In this guide, we'll walk you through the installation process and explore why this product stands out as a superior choice for your home ventilation needs.
Why Choose Envisivent Exhaust Fan Covers?
-
Enhanced Ventilation: Traditional exhaust fan covers can be restrictive, limiting airflow and efficiency. Envisivent covers are designed to maximize airflow, creating less strain on your fan ventilation system.
-
A Blended Finish: The Envisivent Bathroom Exhaust Fan Cover sits flush against your ceiling and is exactly what you need to replace old plastic, bulking covers that take away from any beautifully designed space.
-
Durable Construction: Made from high-quality materials, Envisivent covers are built to last, withstanding the rigors of daily use and exposure to moisture. Created from a moisture, mold and water-resistant material that is primed and ready to paint
-
Easy to Install: Simply, tape, mud, sand and paint, directly over top of the vent in your favourite colour.
SHOP OUR ENVISIVENT EXHAUST FAN COVER COLLECTION
Installation Guide:
-
Measure and Align: Be sure to double check the drywall size and the Envisivent exhaust fan cover size are correct before installing. Envisivent covers come in various sizes, so choose one that matches your measurements.
-
Gather Your Tools: Before you begin, make sure you have the necessary tools on hand. You'll typically need a level, tape, mud, utility knife, drill, screws and sanding tools to start. Don’t forget your favourite paint colour.
-
Remove the Old Cover: Start by carefully removing the existing exhaust fan cover. This usually involves unscrewing it from the wall or ceiling. Be sure to set aside any screws or other hardware for later use.
-
Attach the New Cover: Once you've selected the correct size cover, align it with the exhaust fan opening and secure it in place using the provided screws. Make sure the cover is flush against the wall or ceiling for a proper seal.
-
Tape, Mud, Sand and Repeat: Once installed and secure, tape over top the edges of the exhaust fan cover and repeat the process of mud and sanding until perfectly covered. Once you’ve met your required finish, paint directly over top of the exhaust cover until completely covered.
-
Enjoy Improved Design: With your new Envisivent Exhaust Fan Cover installed, you can enjoy a flush mount fan cover with a removable vent cover utilizing magnetic technology for easy access. Plus a finish that hides any screws or bulky protrusions.
Upgrading your home's exhaust fan cover may seem like a small change, but it can have a big impact on overall design of your personal space. By replacing traditional exhaust fan covers with Envisivent Exhaust Fan Covers, you can get rid of unslightly plastic vents that rattle when turned on or visible screws within your ceiling. Follow the simple installation guide outlined above to make the switch and experience the benefits for yourself. Your home will thank you for it and guests will have something to talk about!
